 EN
How to Install a Solar Powered Well Pump: Components, Wiring and Commissioning
A solar powered well pump can be a practical way to move water where grid electricity is unreliable or unavailable. However, the installation is not simply a matter of lowering a pump and connecting panels. The pump, borehole, pipework, solar array, controller, cable protection, and water demand must work as one system. This guide explains the installation sequence so buyers and site teams can prepare the right information before a qualified installer completes electrical work.
Start with the whole water path, not one performance number. A pump that looks suitable on a product sheet may still be a poor fit if the well depth, static water level, delivery height, pipe losses, sunlight window, or storage plan have not been checked together.
1. Map the solar powered well pump system before ordering
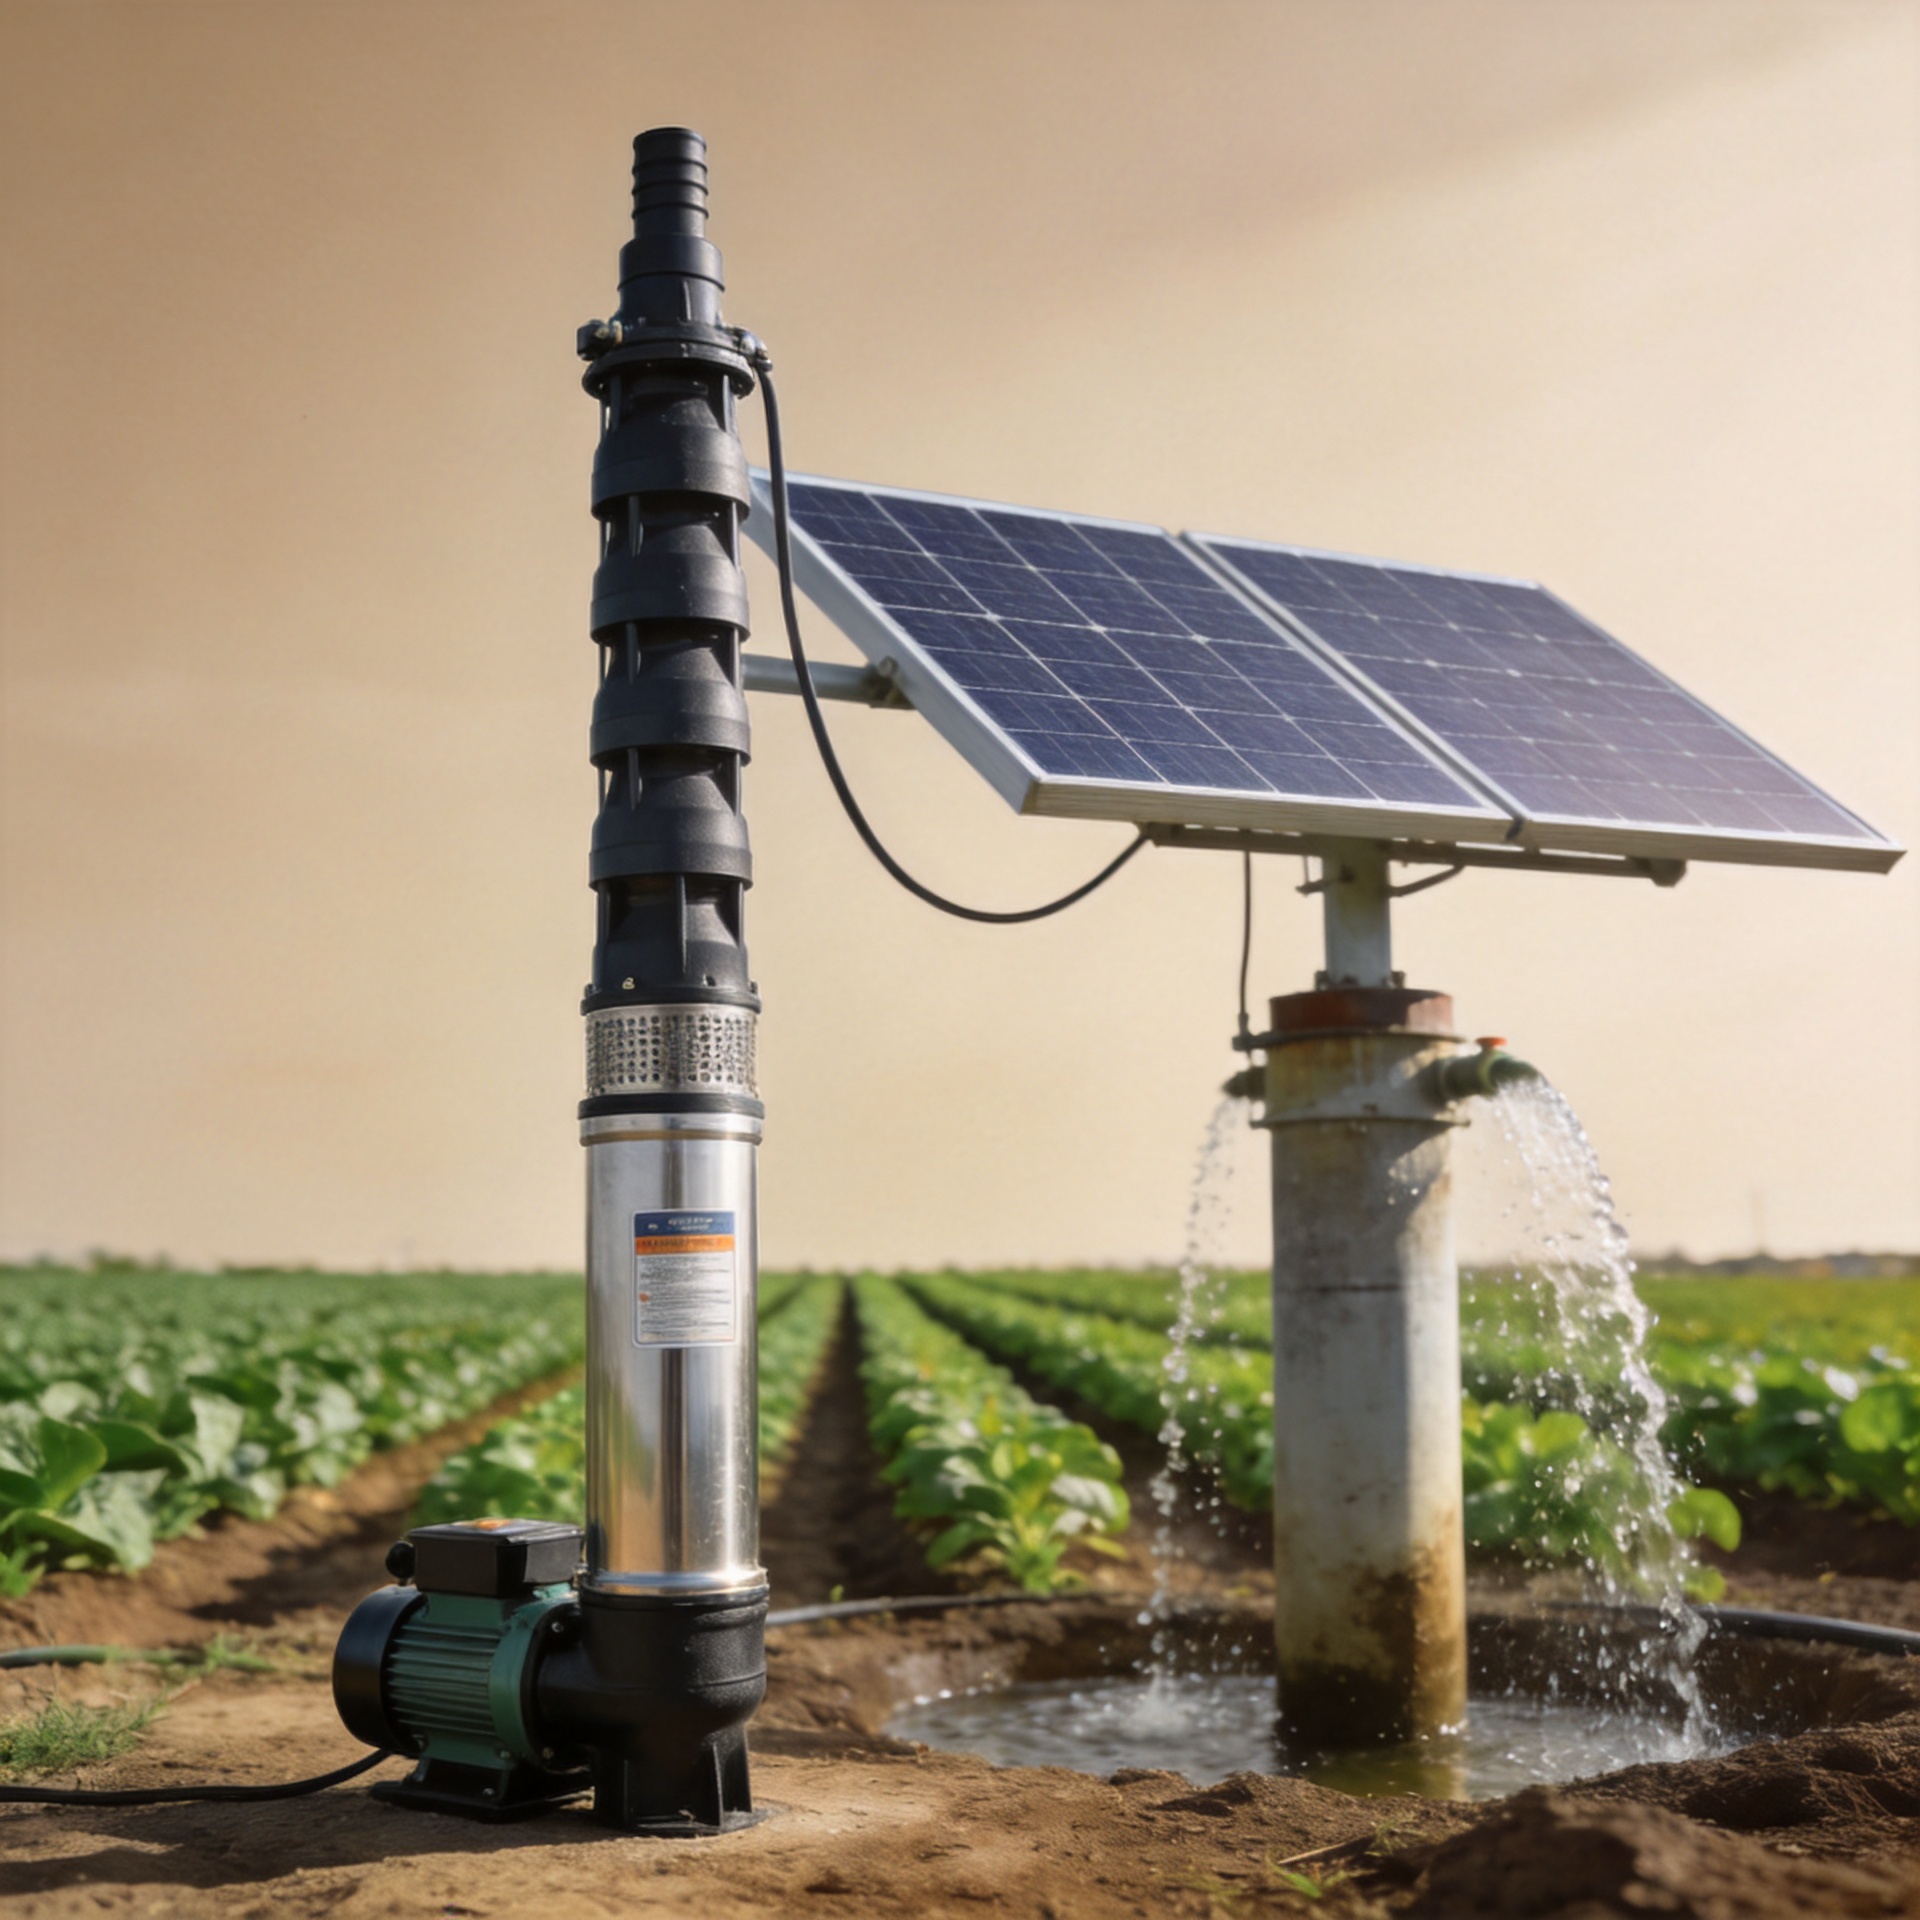
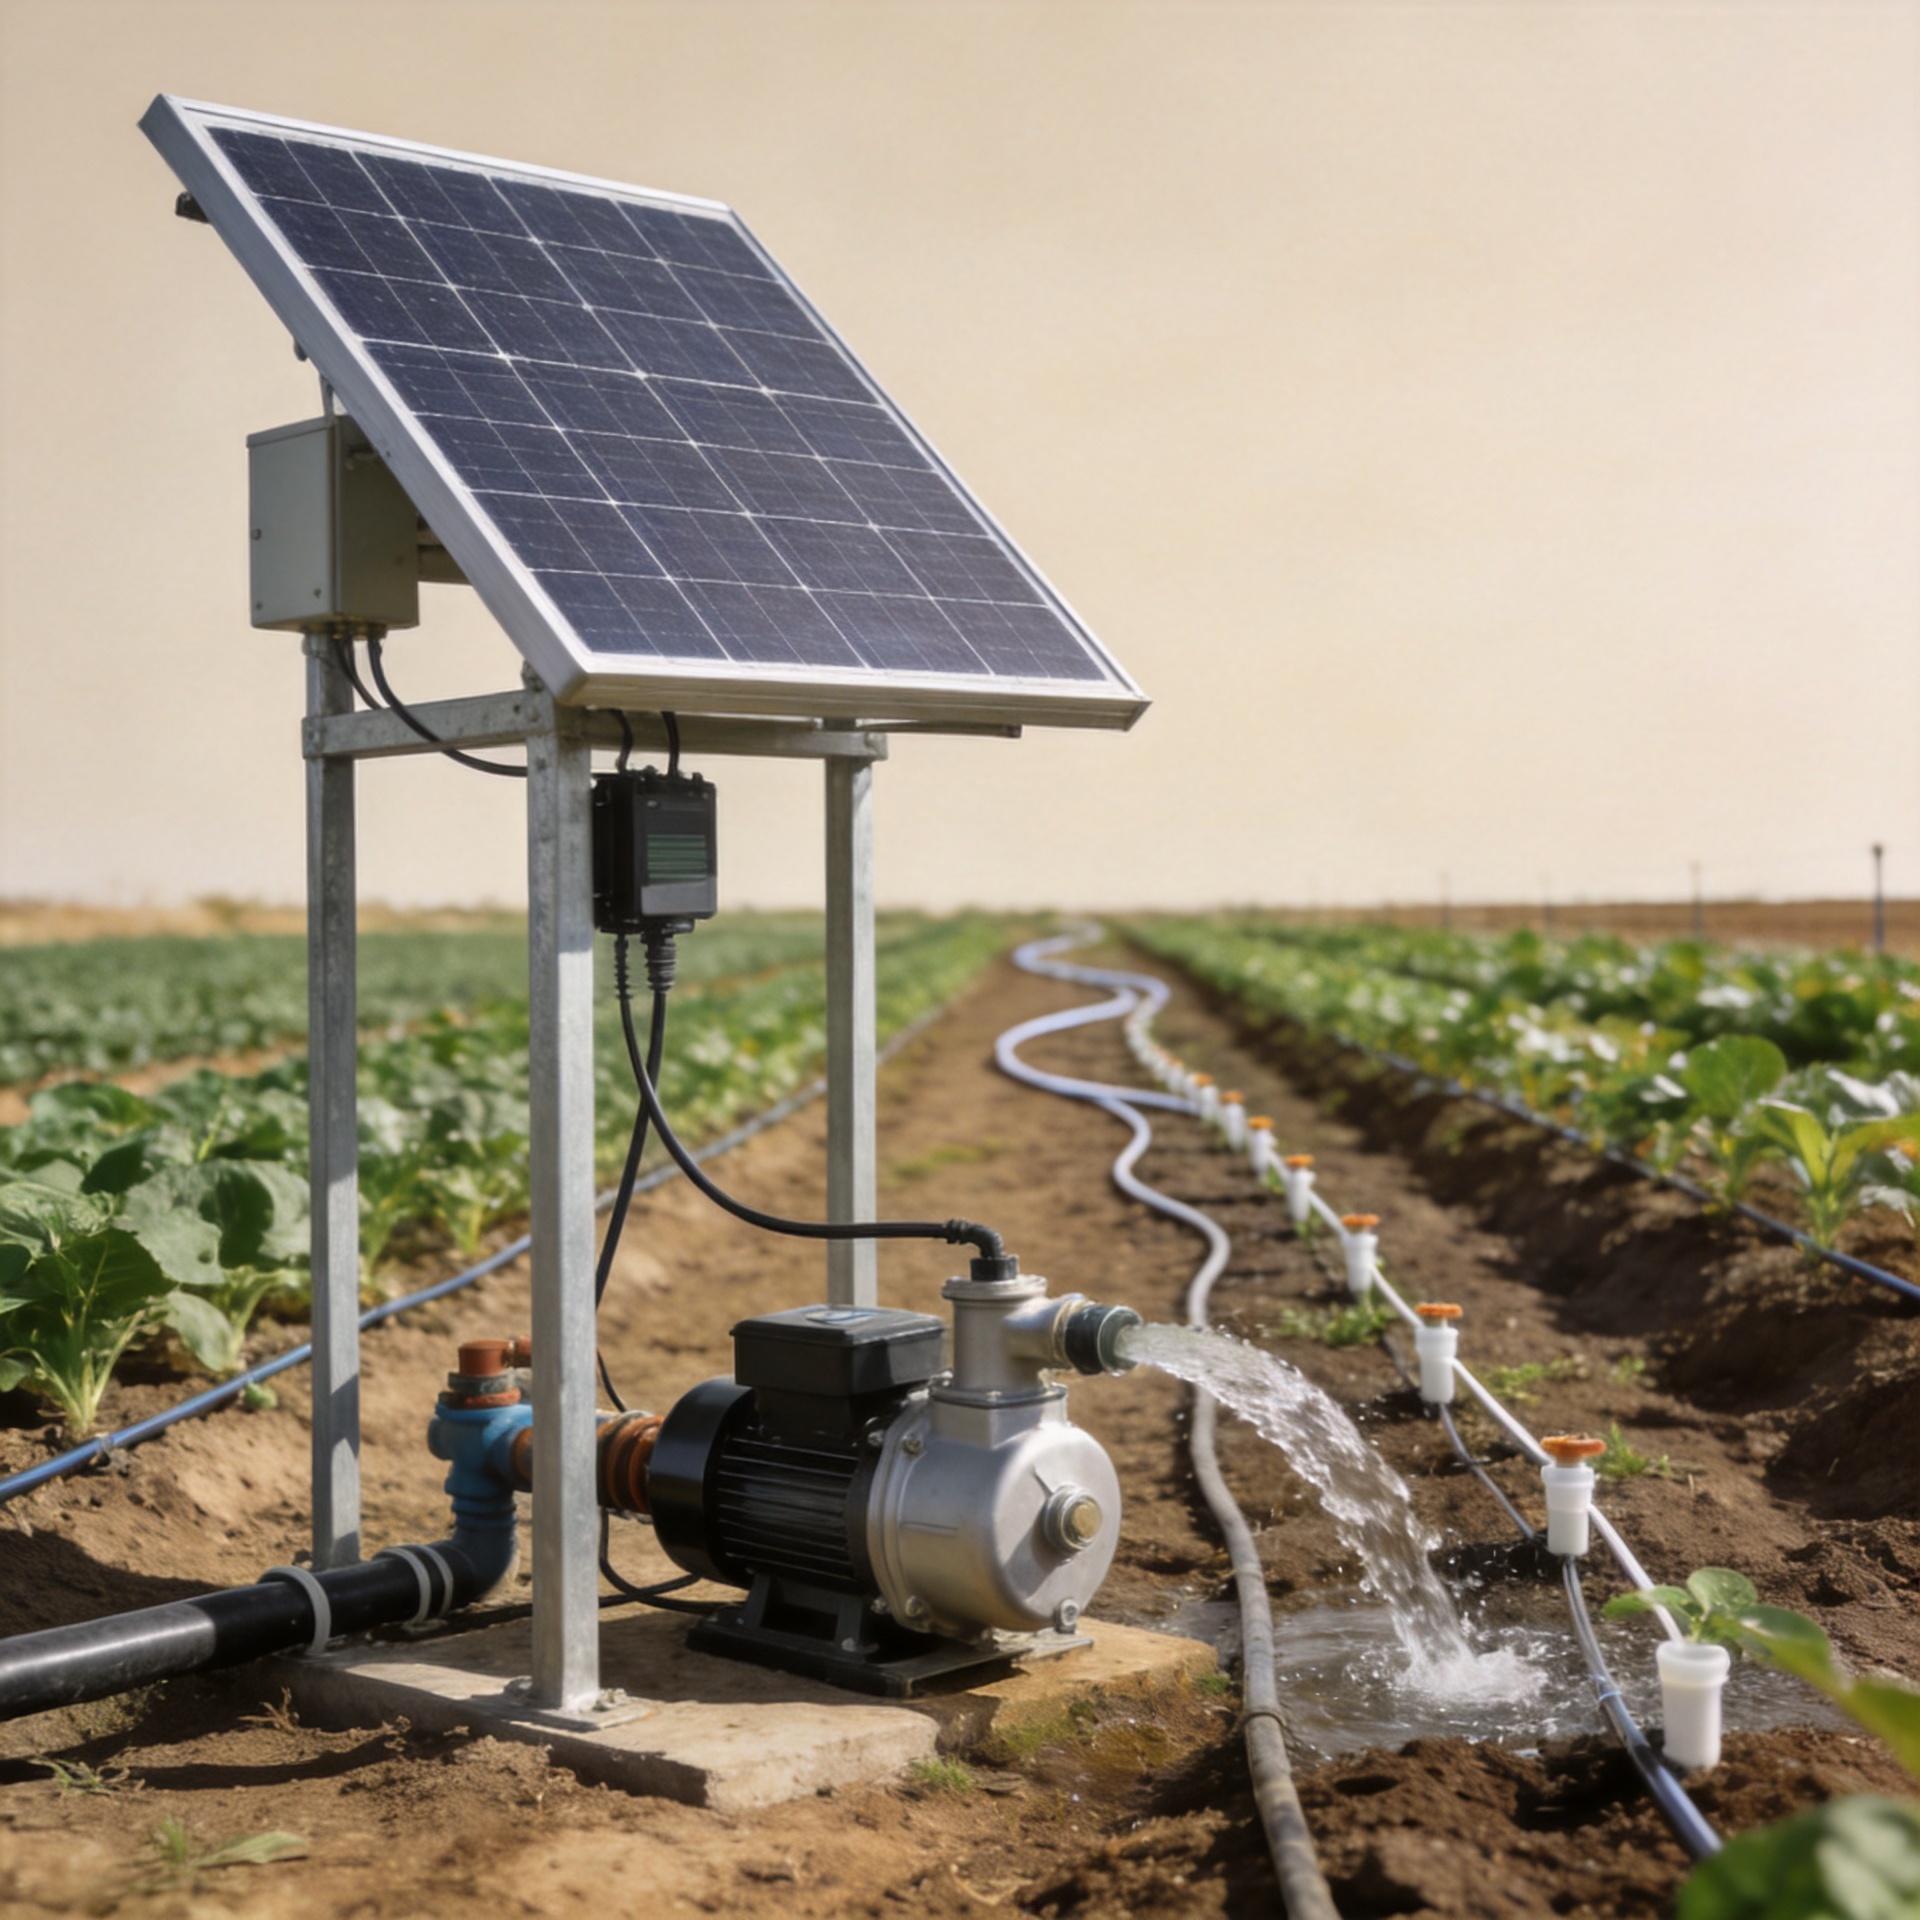
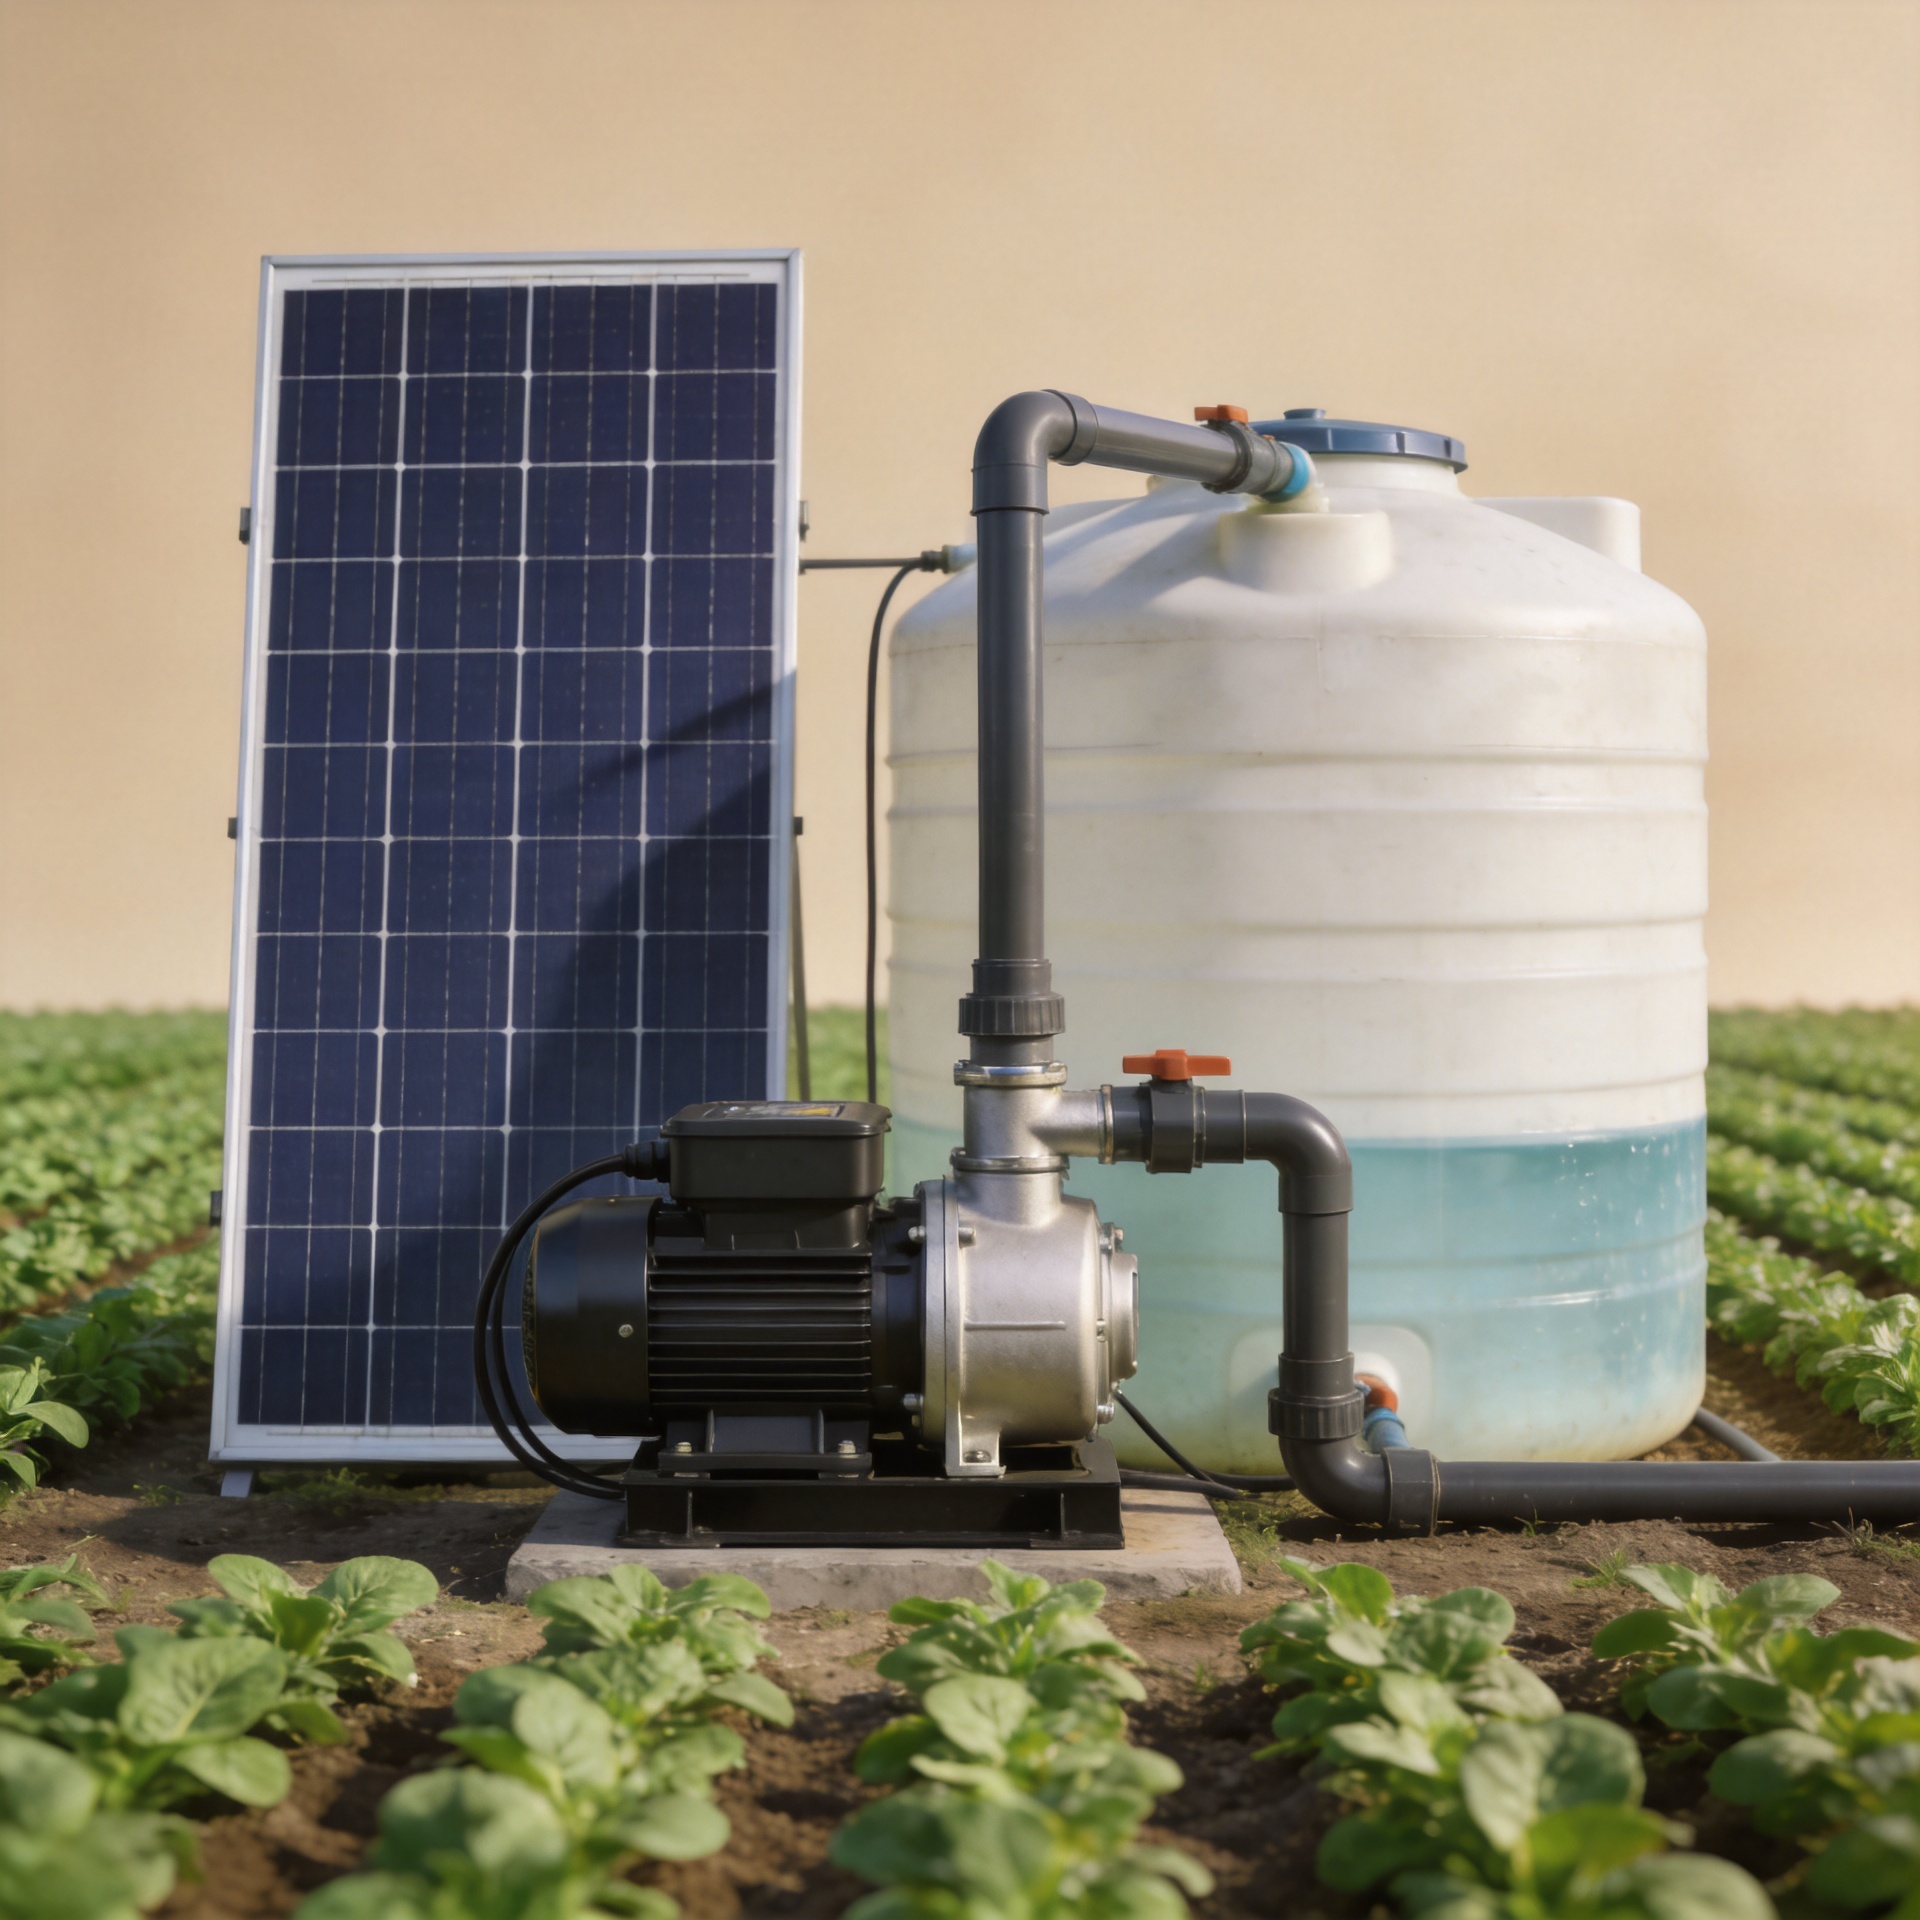
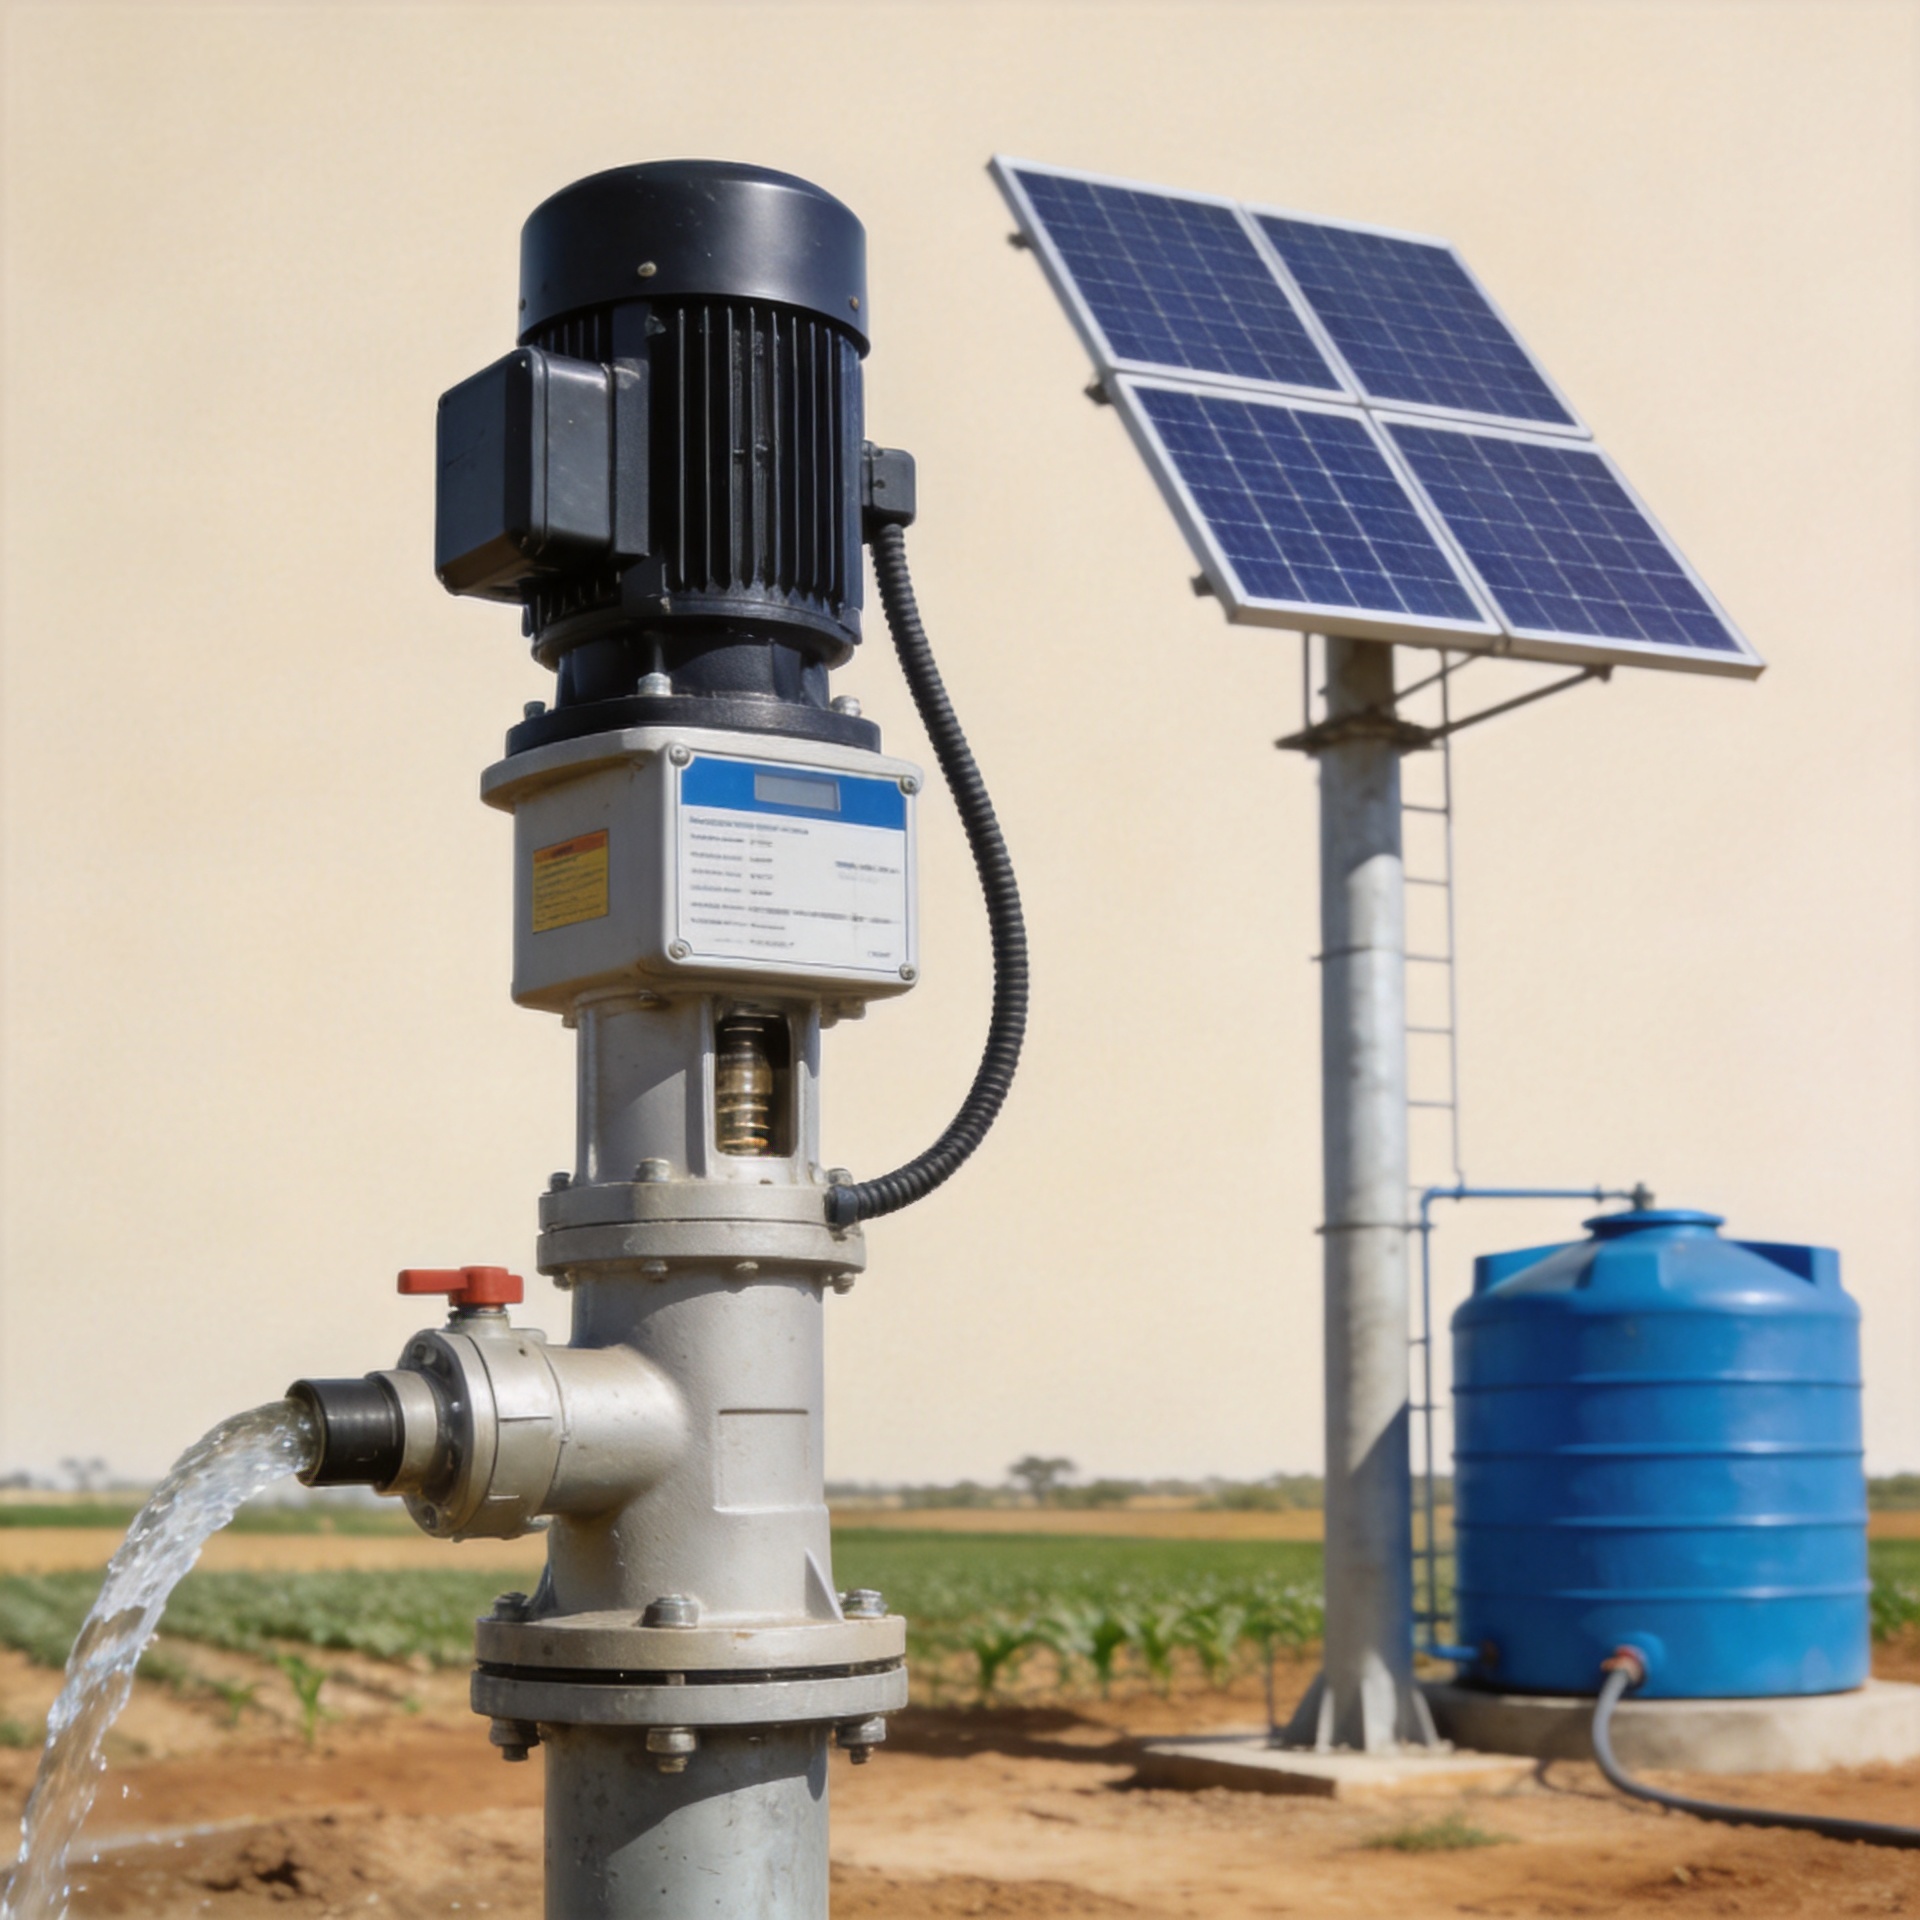
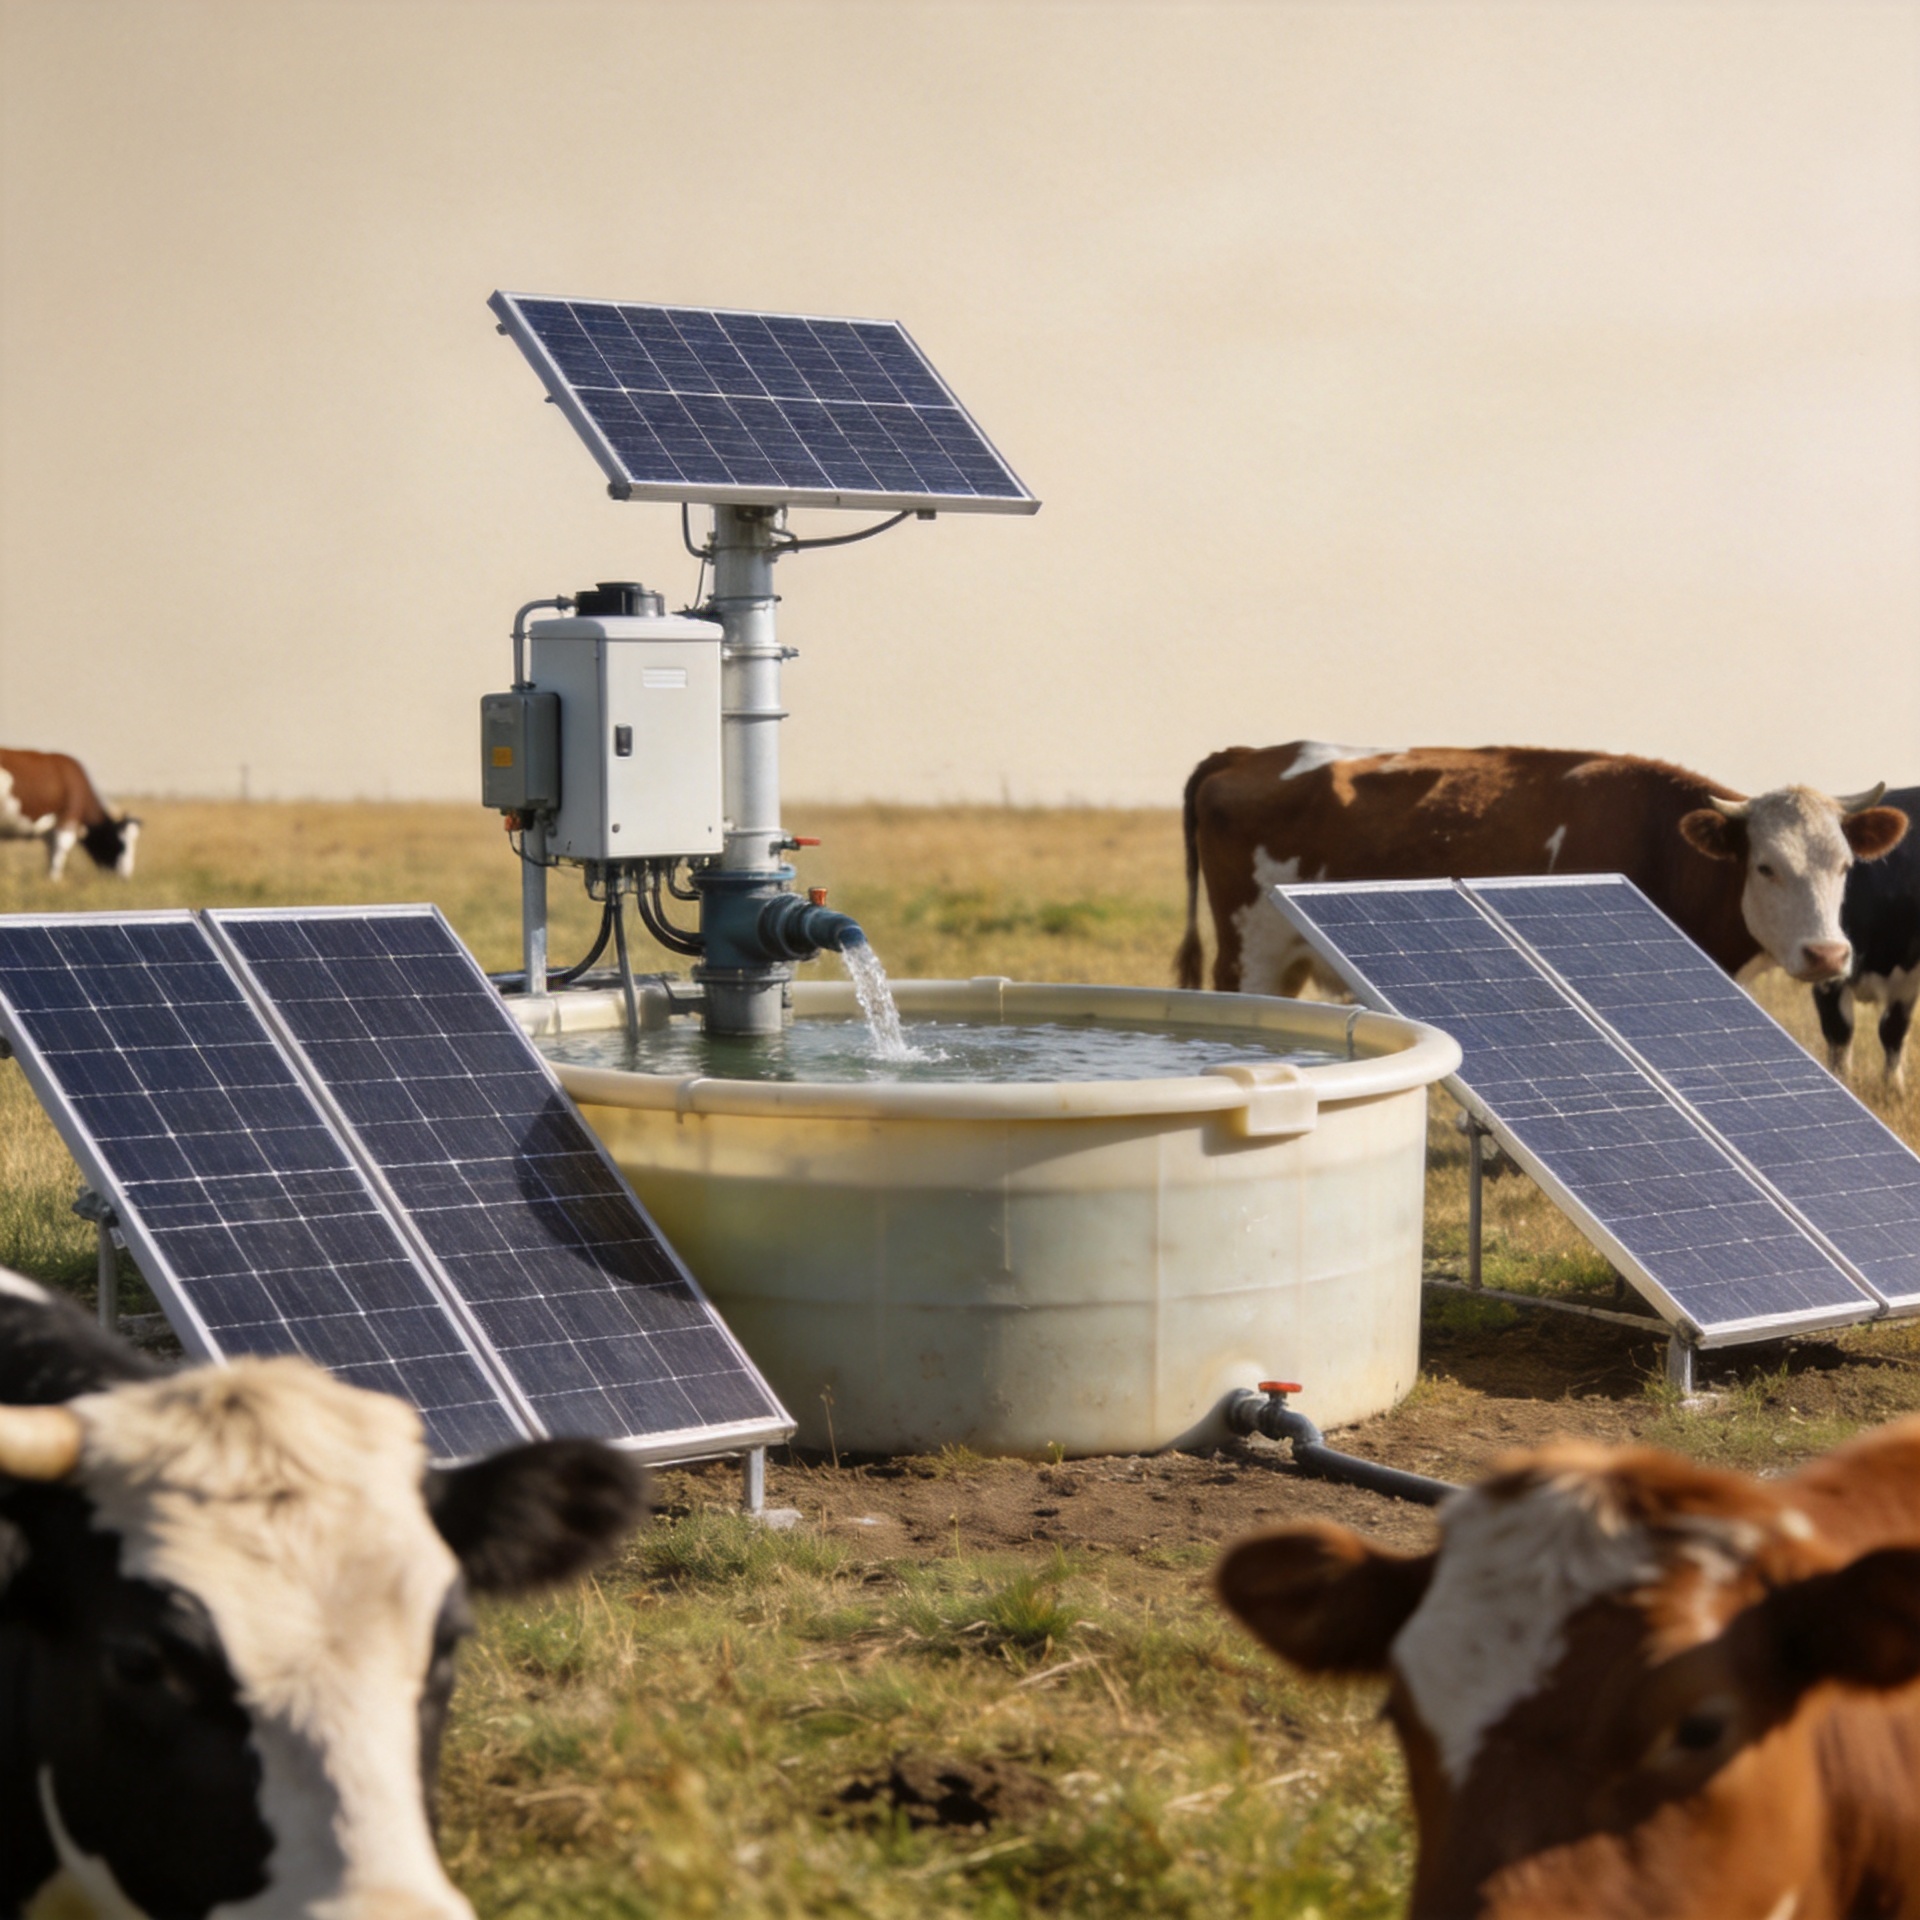
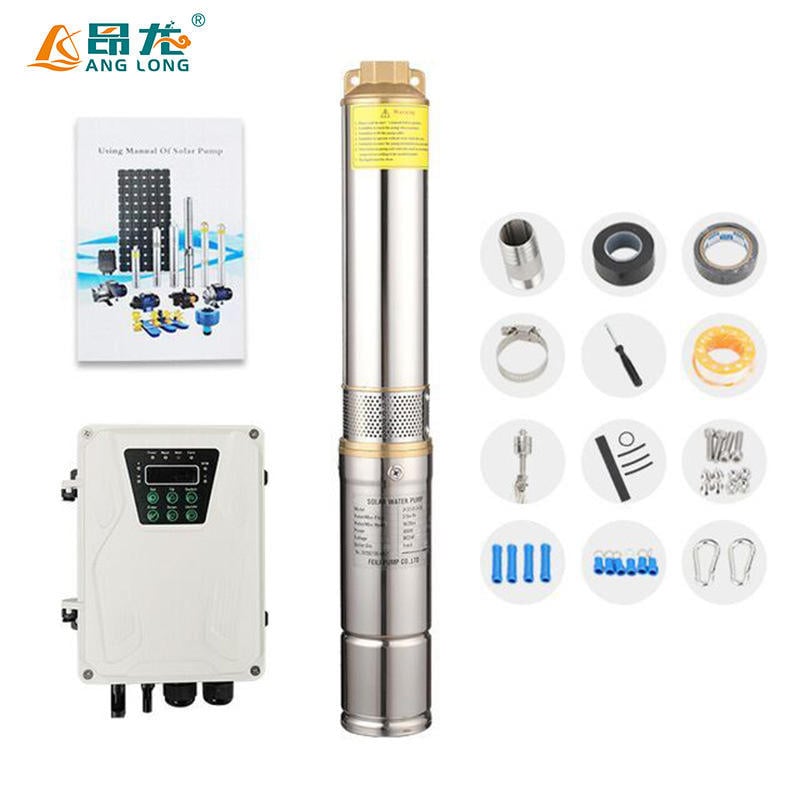
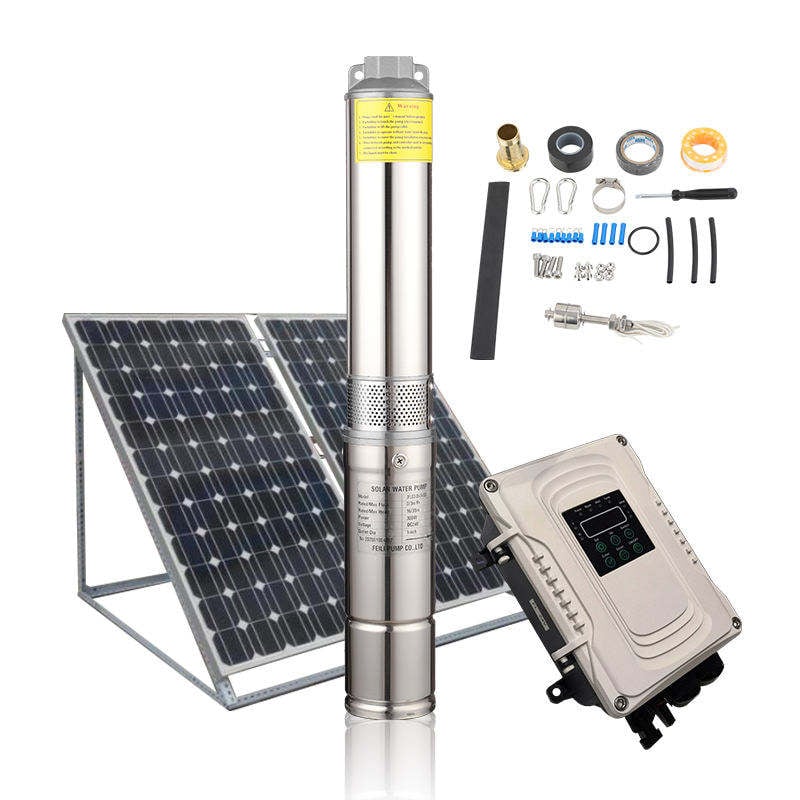
A typical solar powered well pump installation includes a submersible pump, PV modules, a pump controller, mounting hardware, submersible cable, drop pipe, safety rope where specified by the pump manufacturer, isolation and protection devices, and a delivery line to a tank, trough, or irrigation point. Some designs also use batteries, a backup supply, or both.
For an installation that must keep operating beyond strong-sun hours, a solar water pump with battery backup changes the design conversation. Battery capacity, charge control, cable sizing, protection, and controller compatibility must all be verified as a system. Do not assume that any battery can be connected to any pump controller.
- Water requirement: daily volume, peak flow period, and whether storage can shift pumping to daytime.
- Well information: casing diameter, total depth, static water level, expected drawdown, and water quality.
- Hydraulic path: vertical lift from pumping level to discharge point, pipe diameter, fittings, and tank elevation.
- Solar resource: unobstructed array location, seasonal shading, module orientation, and cable route.
- Service access: a safe way to inspect the controller, array, wellhead, and isolation points later.
For B2B projects, record these inputs in the inquiry or handover file. They let the supplier and installer discuss head, flow, duty cycle, and controller configuration without relying on an incomplete site description.
2. Prepare the well, piping, and pump assembly
Inspect the borehole and confirm that the pump diameter is appropriate for the casing. Assemble the drop pipe, check valve arrangement, cable ties, and pump cable support according to the equipment documentation. Keep the electrical cable protected from sharp edges and secure it to the pipe at the intervals specified by the pump manufacturer. The goal is to prevent rubbing, pinching, and unsupported cable weight during installation and retrieval.
Before lowering the pump, verify the planned set depth. It must account for the well’s water level behavior and the pump manufacturer’s guidance on clearance from the bottom. A deep-well installation should not be treated as a one-time drop: leave a clear, documented path for future inspection or retrieval.
Where a project needs a product starting point, review the available 3 Inch Agriculture Solar Water Pump Deep Well Submersible Screw Water Pump For Home alongside the confirmed site conditions. Its page is a useful reference for the product category, but final selection should still follow the approved hydraulic and electrical design.
3. Install the solar array and controller first
Mount PV modules in a location with minimal shading and adequate structural support. Route the array cables in suitable conduit or cable management, protect exposed sections from mechanical damage, and label isolation points. Follow local electrical rules and the controller manual for protective devices, earthing, disconnects, conductor selection, and weatherproof enclosures.
The controller is the bridge between variable solar input and pump operation. Many solar pump systems use a dedicated controller or MPPT-based pump drive; it is not safe to assume a pump can be connected directly to panels. Install the controller where it can be kept dry, ventilated, and accessible for alarms, settings, and maintenance.
Before making the final terminations, compare the array configuration with the controller’s permitted DC input range. Series and parallel connections affect voltage and current differently. A qualified electrician should confirm polarity, conductor ratings, protective earthing, and the absence of damaged insulation before energizing the circuit.

4. Wire the pump in the correct sequence
Use the wiring diagram supplied for the exact pump and controller combination. Terminal names, phase arrangements, sensor inputs, and low-water devices vary by model. The following workflow is a planning checklist, not a substitute for product-specific instructions:
- Isolate the PV source and verify that the controller is de-energized.
- Confirm the pump cable conductors, earth/ground conductor where applicable, splice method, and cable run length.
- Connect the pump output terminals exactly as marked by the controller manual.
- Connect approved level switches, dry-run probes, pressure devices, or tank controls only to their designated terminals.
- Check PV polarity and open-circuit voltage against the controller’s allowed input range before connecting the array.
- Complete earthing/bonding and protective-device checks required for the site and local rules.
- Close covers, secure cable glands, and remove tools before energizing.
If the project includes a solar water pump with battery backup, follow the controller manufacturer’s sequence for battery connection and protection. Battery circuits can remain energized even when the array is isolated, so they require their own safe isolation and correctly rated protection.
5. Commission the solar powered well pump safely
Commissioning proves that the installation behaves as designed; it is more than turning the pump on. PV commissioning practice commonly relies on documented visual inspection, polarity checks, protective-earthing continuity, voltage/current checks, insulation checks where applicable, and functional testing. IEC 62446-1 is written for grid-connected PV systems, so it should not be treated as an off-grid pump manual. Still, its emphasis on documented inspection and test evidence is useful for organizing a professional handover.
With the pump system installed, commission during suitable daylight and record the actual conditions. Observe controller status, starting behavior, delivery flow, discharge pressure where measured, and any warning codes. Confirm that dry-run or water-level protection operates as intended without forcing the pump to run without water. Then check for leaks, unusual vibration, loose cable support, hot connections, or repeated controller resets.
| Commissioning check | What to confirm |
|---|---|
| Mechanical installation | Wellhead, drop pipe, delivery piping, and cable support are secure and serviceable. |
| PV input | Array polarity and measured values are within the controller’s documented limits. |
| Protection | Isolation, earthing/bonding, fuses or breakers, and enclosure seals match the approved design. |
| Pump operation | Start, stop, water delivery, and protective functions operate normally under observed site conditions. |
| Documentation | Keep wiring diagrams, settings, test records, product manuals, and service contacts at the site. |
6. Plan for variable sunlight and routine maintenance
A solar powered well pump responds to available solar energy, so water storage often provides a simpler reliability buffer than oversizing every electrical component. Match the storage, control logic, and expected pumping window to the site’s actual demand. If continuity outside daylight is essential, assess a solar water pump with battery backup as a complete engineered system rather than an add-on.
Set a maintenance routine for array cleaning where site conditions require it, visual cable checks, controller alarm review, wellhead inspection, and periodic confirmation of delivered water. Any reduction in flow can originate from the well, pipework, pump, controller settings, solar input, or a protection condition; investigate the full system instead of replacing components by guesswork.
For irrigation-oriented projects, the Solar Water Pumps Farm Irrigation System Dc Solar Submersible Pump With Battery page can help buyers begin a product-category discussion. Share the confirmed well and water-demand data so the final configuration can be reviewed against the intended application.
Final installation takeaway
The most reliable solar well-pump projects begin with a complete site map: water source, required head and flow, pipe route, solar resource, controller limits, protection plan, and commissioning record. Use the product manual and applicable local electrical requirements for every final connection. When the installation is planned as one system, the solar powered well pump is easier to commission, monitor, and service over time.